The difference between a holiday cottage that books consistently and one that sits empty for weeks often comes down to photography. Yet most property owners spend days cleaning and styling their properties, only to undo their work with last-minute decisions that create shadows, clutter, and missed opportunities. Professional property photography preparation isn’t about making your cottage look perfect for guests. It’s about creating conditions that allow cameras to capture what makes your space genuinely appealing.
Table of Contents
- Quick Takeaways
- Timing and Scheduling Considerations
- Decluttering and Depersonalising Spaces
- Lighting Preparation Strategies
- Staging Key Rooms for Maximum Impact
- Outdoor and Exterior Preparation
- Final Walkthrough Checklist
- Frequently Asked Questions
- References
Quick Takeaways
| Key Insight | Explanation |
|---|---|
| Schedule shoots for midday natural light | Between 10am and 2pm provides the most consistent natural lighting conditions for interior cottage photography, reducing harsh shadows and color temperature shifts |
| Remove 40% more items than feels comfortable | Spaces that feel sparse in person photograph as comfortably furnished, while normally furnished rooms appear cluttered through a wide-angle lens |
| Replace all bulbs with matching colour temperature | Mixed lighting (warm yellow and cool white) creates uncorrectable color casts that make rooms look unprofessional even in expensive photography |
| Focus exterior preparation on entrance zones | First impression shots of doorways, pathways, and immediate gardens drive booking decisions more than distant landscape views |
| Clean windows inside and outside 24 hours before | Window clarity affects every interior shot by controlling natural light quality and allowing Peak District views to enhance rather than distract |
| Turn off visible electronics and screens | Illuminated device screens, TV reflections, and visible charging cables date properties and pull attention from architectural features |
| Stage for the camera, not for living | Symmetrical arrangements, pulled-back furniture, and strategic negative space create photogenic compositions that convert browsers into bookers |
Timing and Scheduling Considerations
Most property owners book photography sessions around their convenience rather than optimal shooting conditions. This creates unnecessary complications. Professional cottage photography works best when scheduled between late spring and early autumn, when Peak District weather provides longer daylight hours and the surrounding landscape offers visual interest without bare branches or brown hillsides.
Pro tip: Book your property photography preparation for a Tuesday, Wednesday, or Thursday. Weekend shoots force rushed preparation, and Monday sessions leave no buffer for weather-related rescheduling.
Weather checking should happen 48 hours before the shoot, not the morning of. Peak District conditions change rapidly. Overcast days actually work well for property photography because cloud cover acts as a giant diffuser, eliminating harsh shadows. Light rain on windows, however, creates distracting spots that show clearly in final images.
Decluttering and Depersonalising Spaces
The most common mistake in cottage photography preparation is leaving too much on display. What feels like a lived-in, welcoming space in person translates to visual chaos through a camera lens. Wide-angle lenses used for property photography capture more of each room than human vision naturally processes, making standard furniture arrangements look cramped.
Remove personal photographs, family memorabilia, and owner-specific decorative items entirely. Holiday rental guests want to imagine themselves in the space, not feel like they’re borrowing someone’s private home. This applies equally to fridge magnets, bathroom toiletries, and visible paperwork.
Surface-by-Surface Clearing Strategy
Kitchen countertops should be completely clear except for one or two intentional styling elements. A coffee maker, fruit bowl, or single decorative item works. Everything else belongs in cupboards during the photoshoot checklist process. Bathroom counters follow the same rule: remove toothbrush holders, soap dispensers, and personal care products.
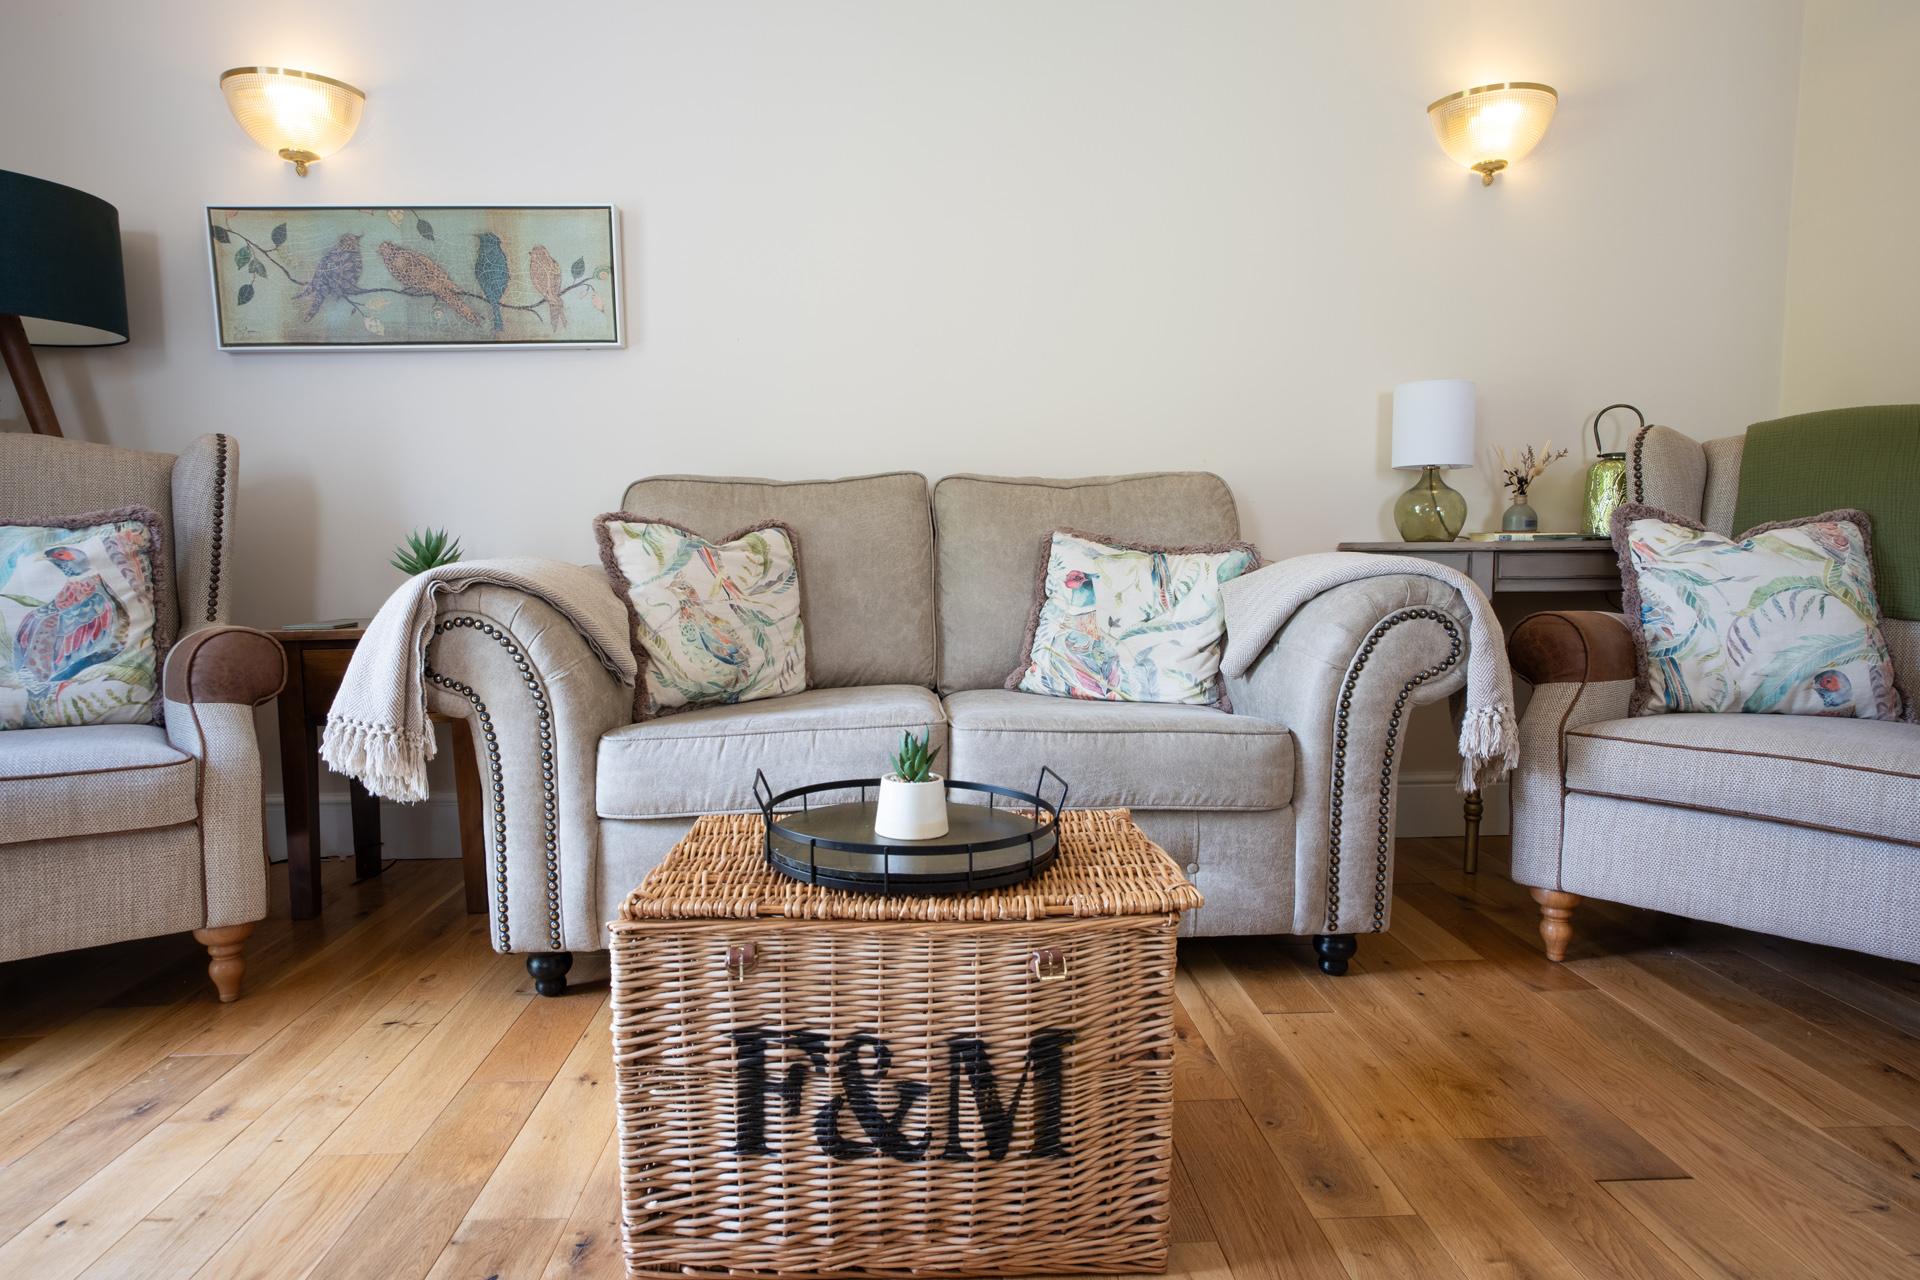
Living room surfaces need aggressive editing. Coffee tables should hold one book or a small decorative object, not collections of remotes, magazines, and coasters. Side tables work best completely empty or with a single lamp. Mantlepieces and shelving units should display 50% less than normal, with items grouped in odd numbers and separated by negative space.
Bedroom preparation requires removing everything from bedside tables except perhaps a single lamp or small plant. Clear the top of dressers completely. Wardrobe doors must close fully with no visible clothing. Luggage racks, if present, should be folded and stored elsewhere during shooting.
Lighting Preparation Strategies
Lighting inconsistency kills more property photographs than any other preparation failure. Mixed colour temperatures from different bulb types create color casts that make rooms look dingy or uninviting. Before your cottage photography session, every light bulb in photographed rooms needs matching specifications.
Window Treatment Decisions
Curtains and blinds present a strategic choice. Fully open treatments maximize natural light and showcase views, which works well for properties with strong landscape positions. Partially drawn curtains create depth and frame views but reduce overall brightness. The wrong choice depends on window condition and exterior views.
Properties overlooking neighbouring buildings, parked cars, or unattractive elements should use sheer curtains or strategically positioned blinds to diffuse views while maintaining light. Peak District cottages with genuine landscape views should have treatments fully opened and tied back neatly.
Pro tip: Clean all light switches, plug sockets, and electrical fixtures the day before shooting. These small details show clearly in high-resolution property photography and signal overall maintenance standards to potential guests.
Lampshades need checking for dust, discoloration, and damage. A yellowed or tilted shade draws attention in photographs. Replace any damaged shades before the shoot. Remove any lamps with visible cords that cannot be hidden behind furniture.
Staging Key Rooms for Maximum Impact
Staging for property photography differs fundamentally from styling for guest experience. Photographers need clear sightlines, balanced compositions, and strategic negative space. Guests need functional layouts and accessible amenities. These requirements often conflict.
Living rooms should have furniture pulled 15-20 centimeters away from walls. This creates shadow separation that adds depth to photographs. Sofas and chairs arranged in strict geometric patterns photograph better than casual, conversational groupings. If your cottage has a fireplace, make it the focal point by centering seating arrangements on it.
Kitchen Presentation Standards
Kitchens drive booking decisions for self-catering properties. Clear all countertops completely, then add back only intentional styling elements. A wooden cutting board, small plant, or bowl of lemons works. Everything else creates clutter. Open cupboard doors slightly to show quality fittings if they’re modern and well-maintained. Keep them closed if interiors look dated or disorganized.
Dining tables should be either completely clear or set for a meal with matching place settings. Partial place settings or mismatched items look unfinished. If setting the table, use neutral linens and simple white or cream dishes. Avoid patterned tablecloths that create visual competition with the room itself.
Bedrooms need crisp, neutral bedding without wrinkles or folds. White, cream, or light grey linens photograph best across different properties. Pull duvets tight and symmetrical. Add throw pillows sparingly in odd numbers. Remove decorative cushions if they create excessive layering or distract from the bed itself.
| Staging Approach | Best For | Photoshoot Impact |
|---|---|---|
| Minimal styling (cleared surfaces, simple arrangements) | Modern cottages, contemporary renovations, properties targeting professional guests | Creates clean, uncluttered images that emphasise space and light, fastest preparation time |
| Traditional cottage styling (period features highlighted, heritage accessories) | Character properties, listed buildings, cottages with original beams or stone features | Establishes authenticity and period charm, requires careful balance to avoid looking dated |
| Lifestyle staging (books, coffee cups, subtle lived-in touches) | Luxury rentals, romantic retreats, properties with strong experiential positioning | Builds emotional connection but risks looking messy if overused, needs professional styling judgment |
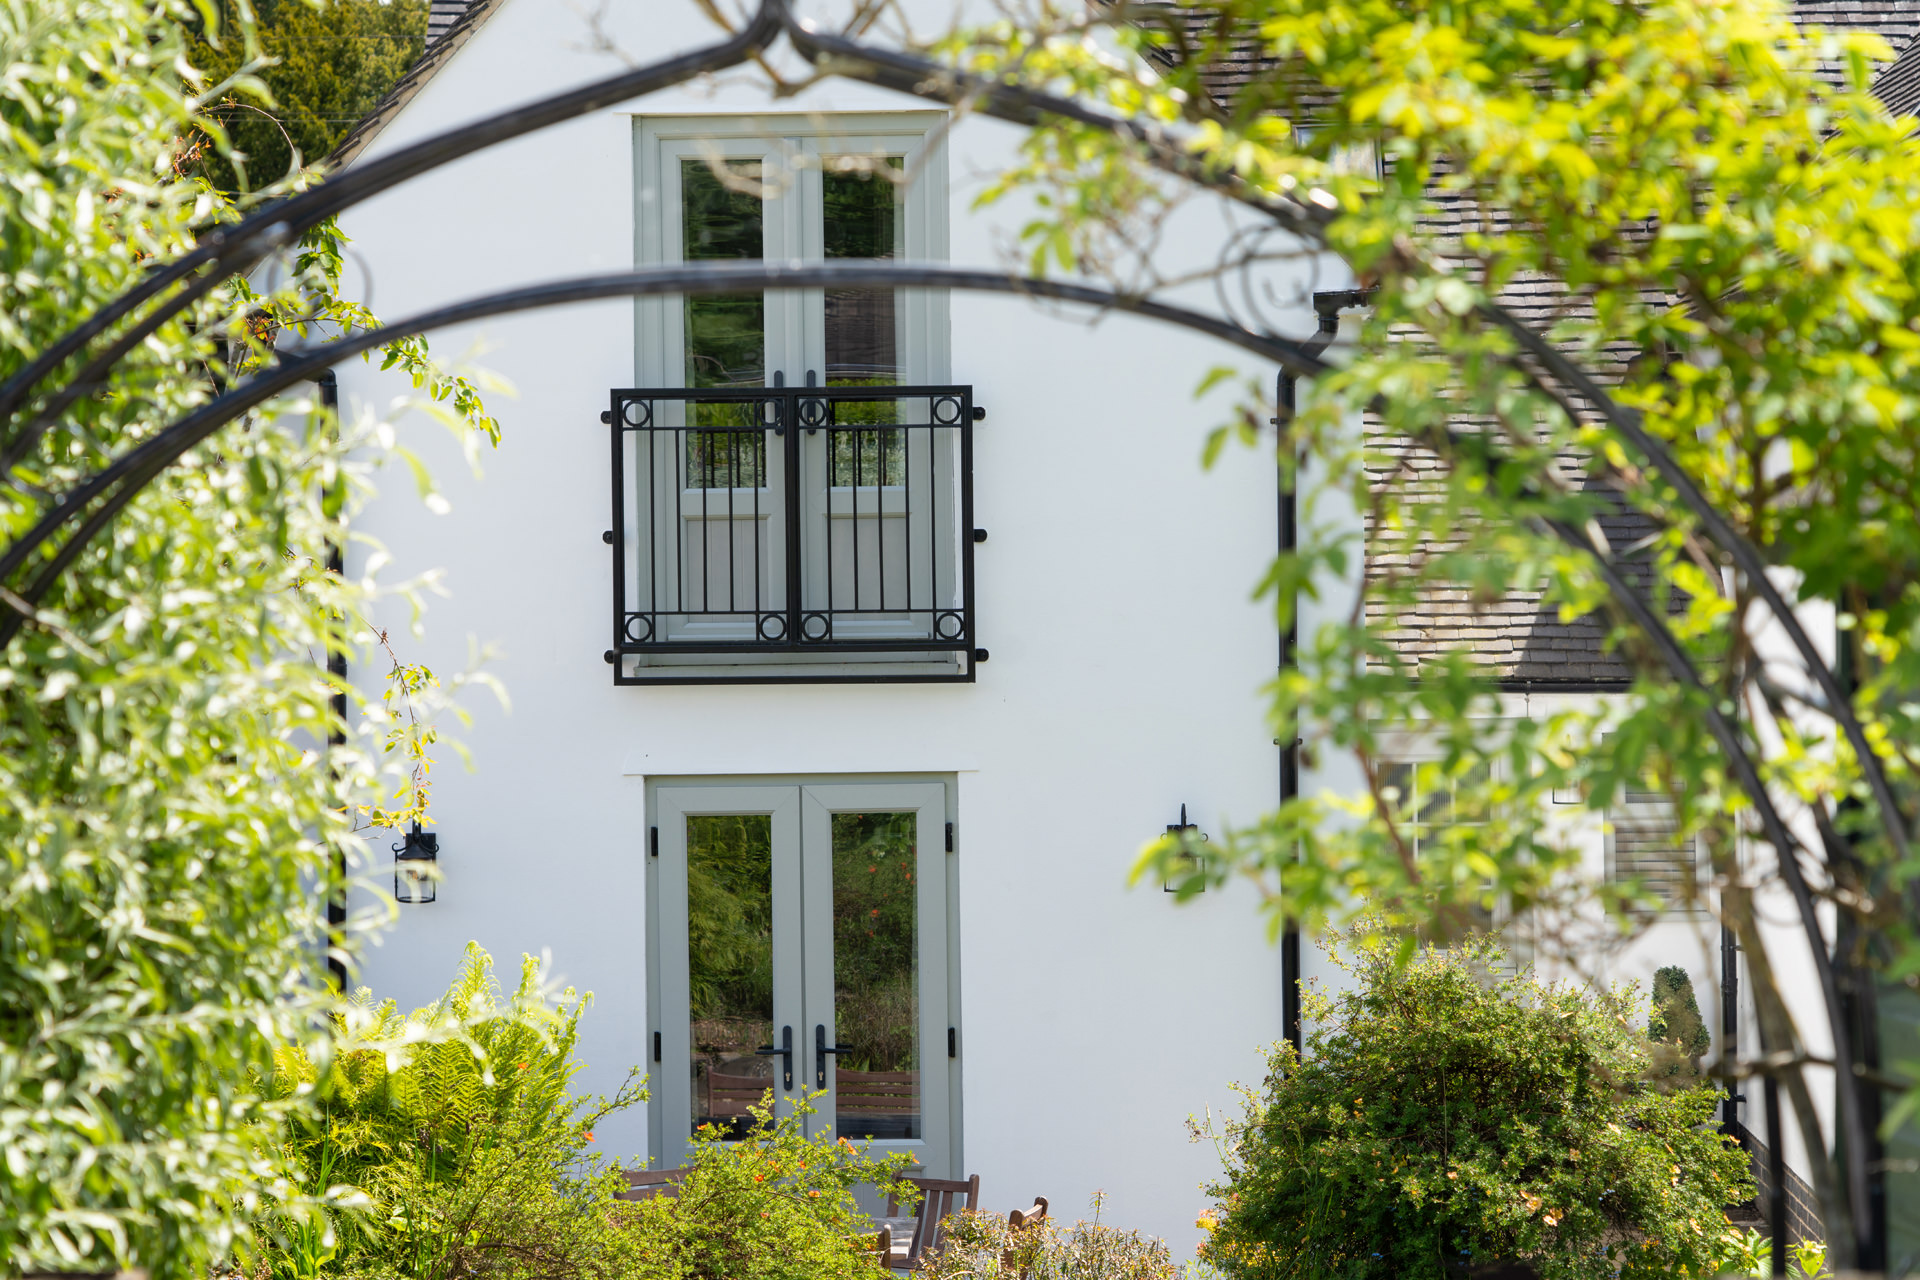
Outdoor and Exterior Preparation
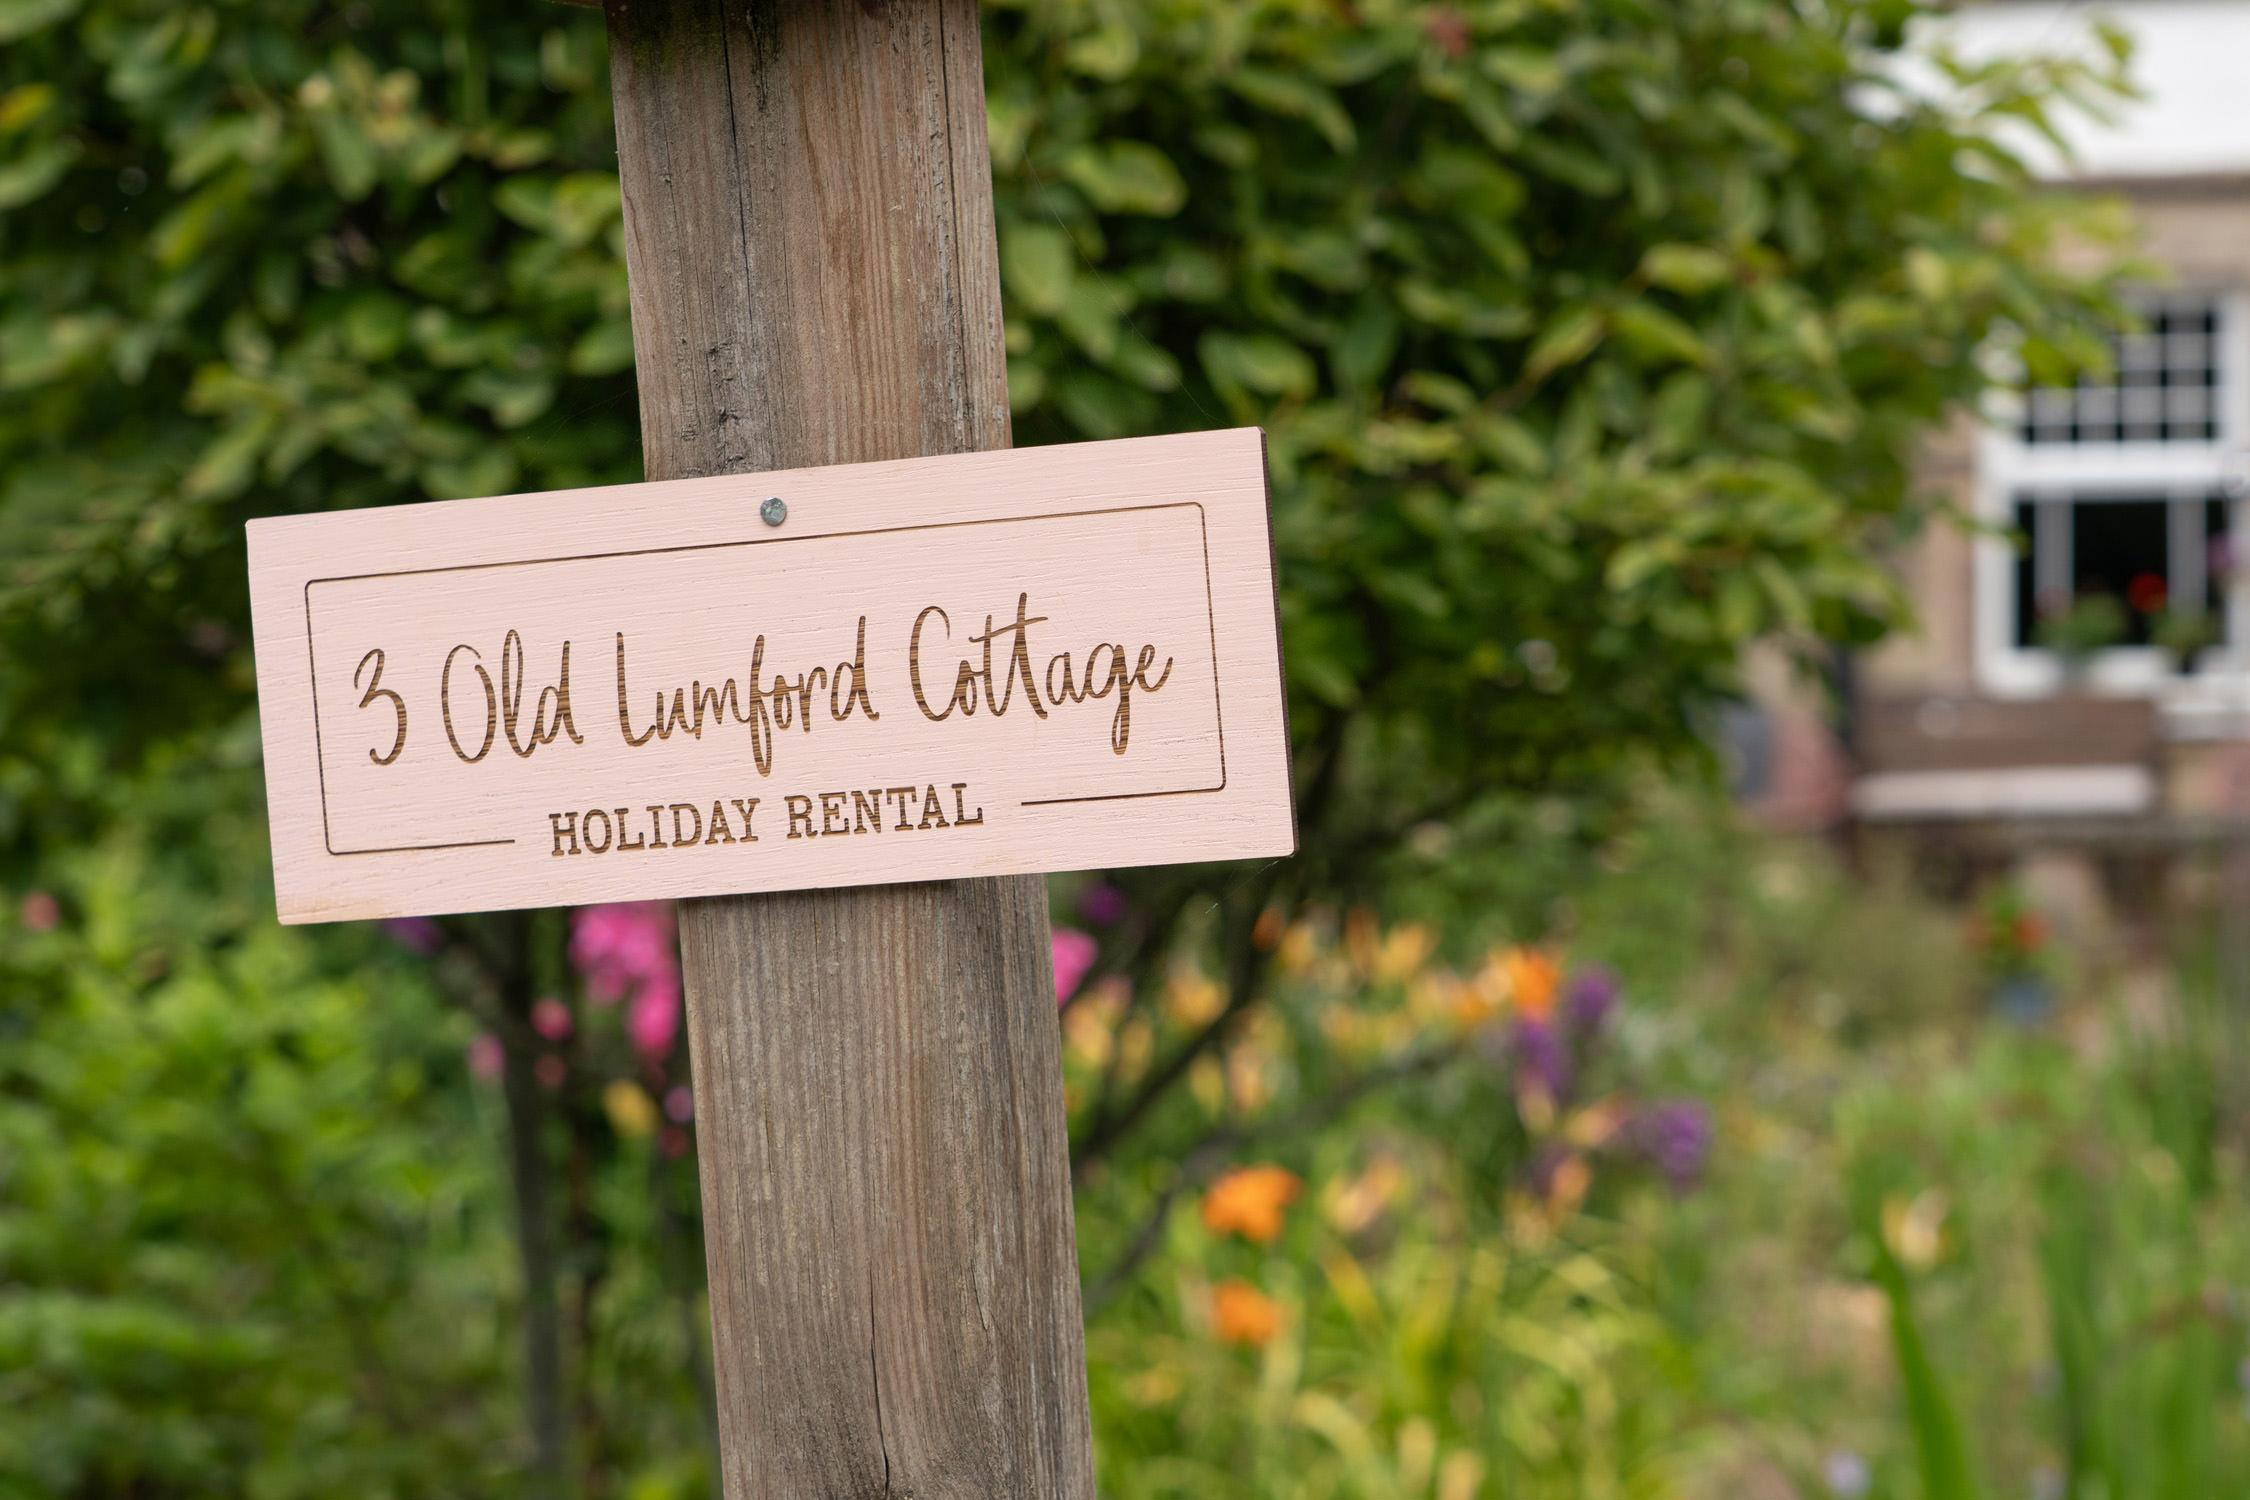
Exterior preparation for cottage photography determines whether browsers click through to see interior shots. The front entrance photograph serves as the primary filtering image on booking platforms. Properties with appealing exterior shots receive significantly higher click-through rates regardless of interior quality.
Pathways and entrance areas need thorough preparation. Sweep all hard surfaces. Remove visible weeds from between paving stones. Trim any overhanging vegetation that obscures the front door or windows. Check for and remove spider webs around door frames, light fixtures, and window corners. These details seem minor but photograph prominently.
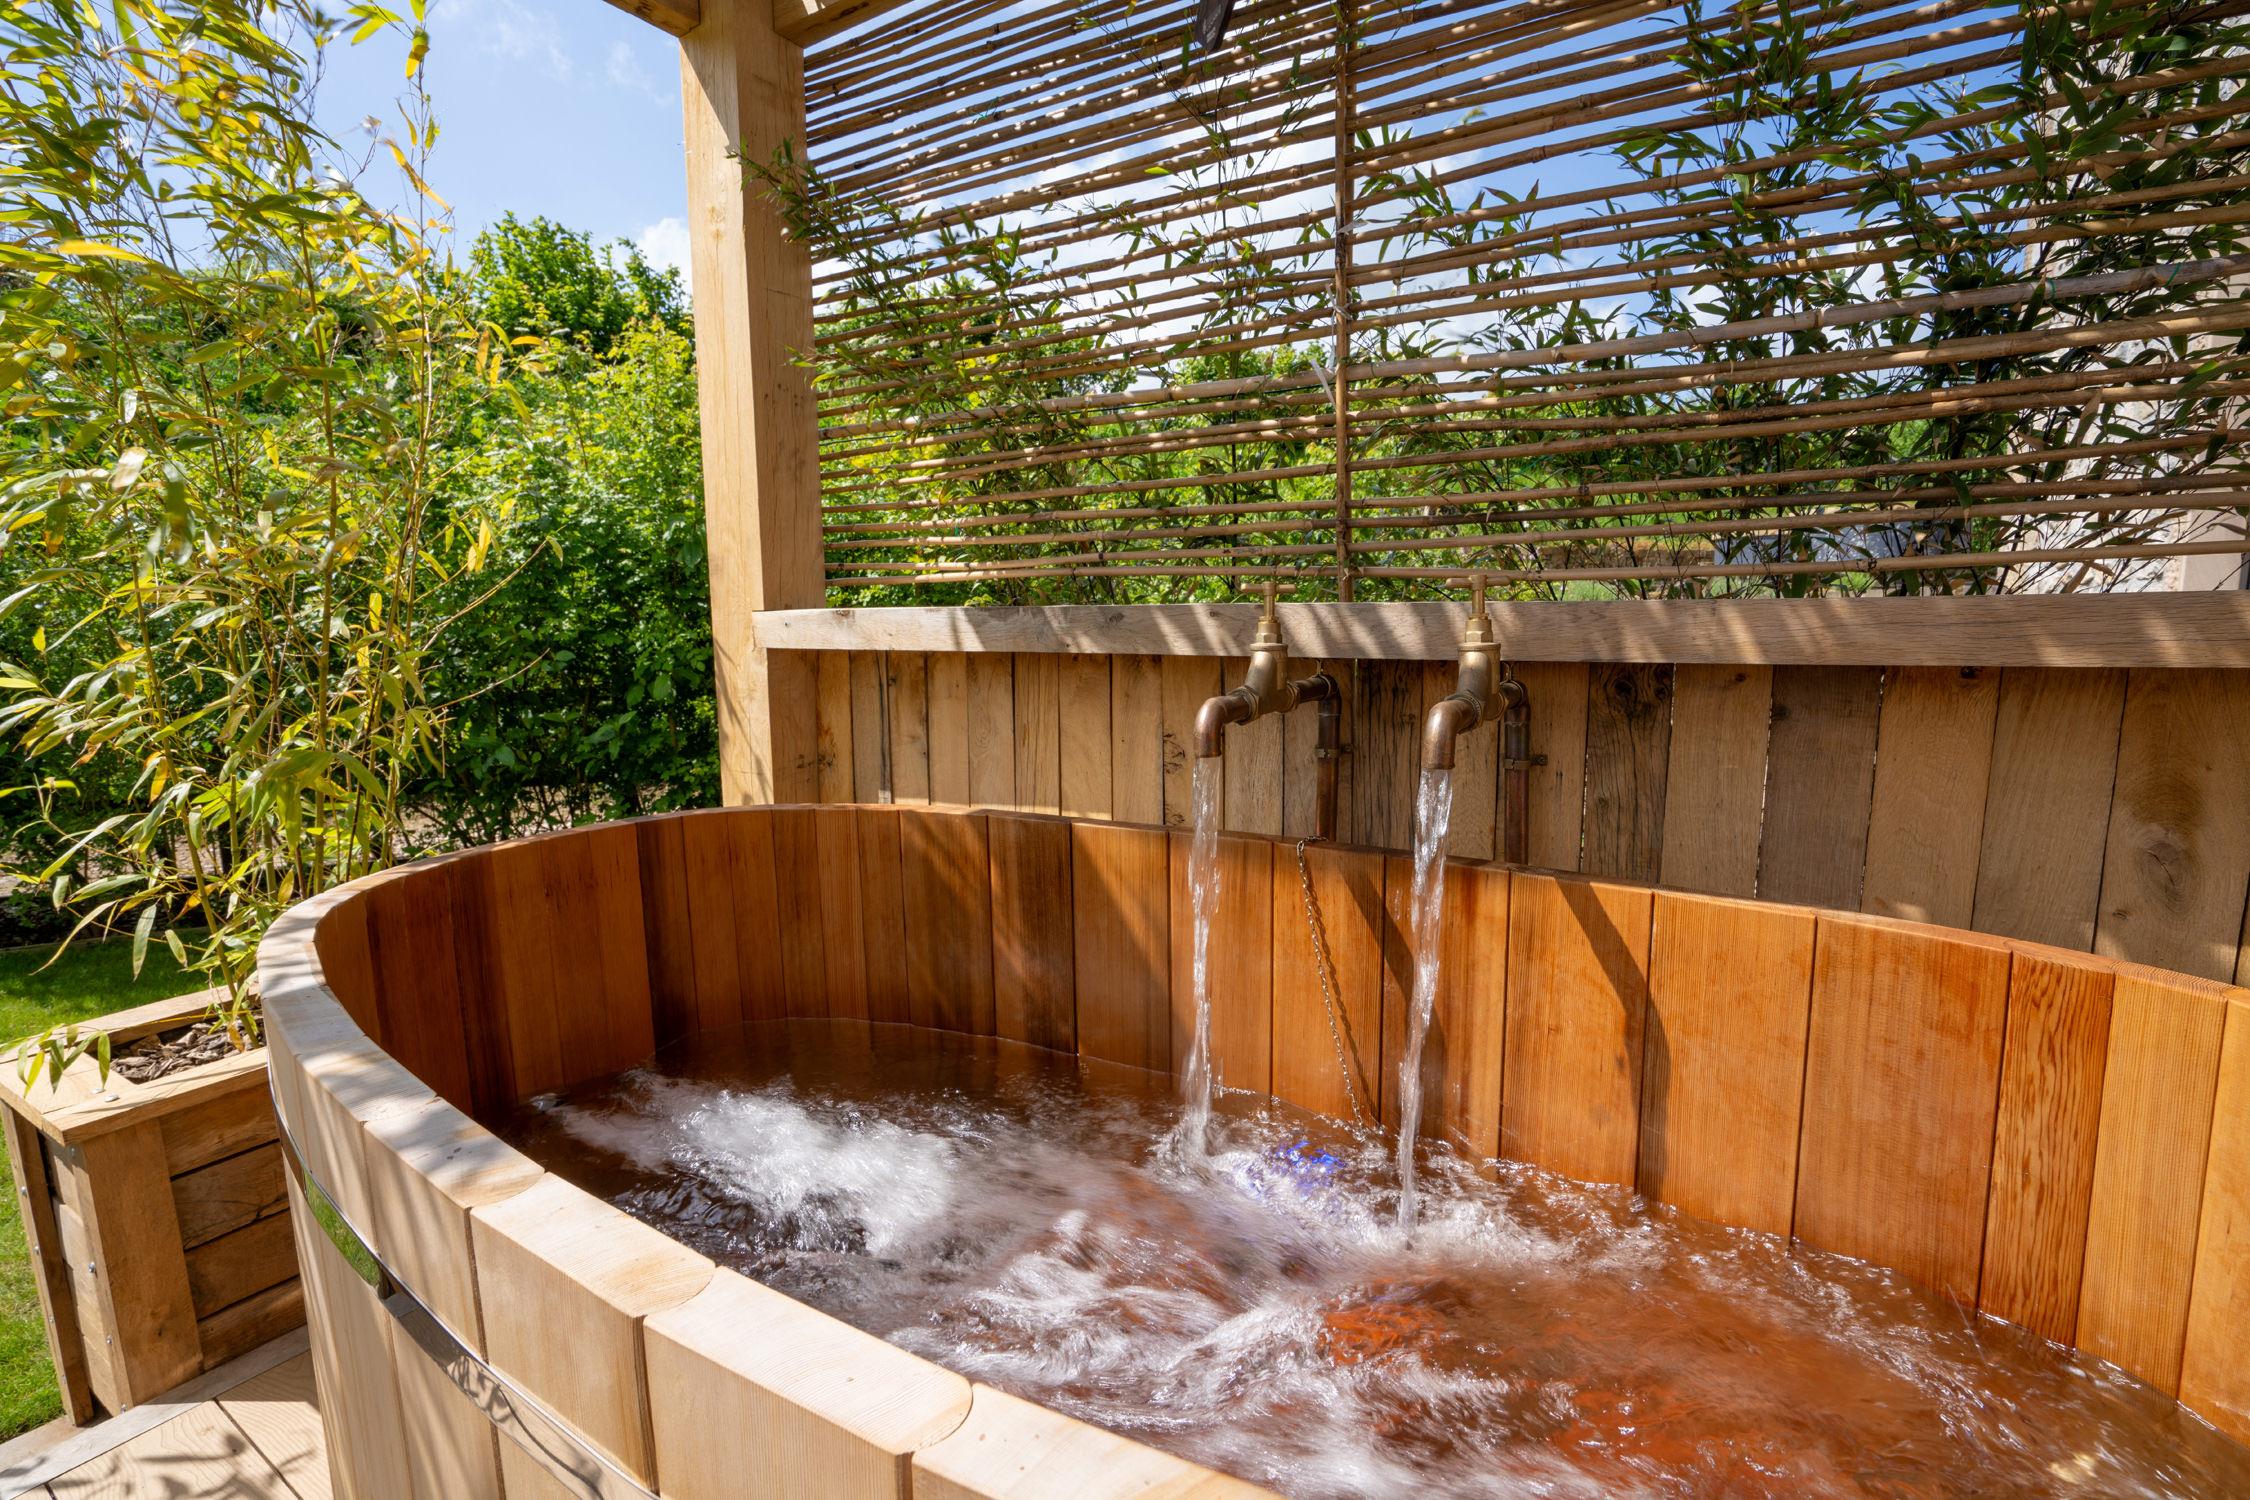
Garden and Landscape Presentation
Peak District properties benefit from landscape context, but gardens require strategic preparation. Mow lawns 2-3 days before shooting, not the morning of. Freshly cut grass shows clipping debris and cutting lines in photographs. Edge all lawn borders cleanly. Remove any visible garden equipment, hoses, or maintenance items.
Garden furniture should be clean, matching, and strategically positioned. Remove any damaged, rusted, or mismatched pieces. Position seating to face attractive views or architectural features. Add outdoor cushions only if they’re in excellent condition and weather-appropriate for the shoot date.
Car parking areas present a challenge. Empty driveways and parking spaces photograph better than occupied ones unless the property specifically markets parking capacity. Coordinate with neighbors if their vehicles appear in standard exterior angles. One premium car can enhance luxury properties, but visible vehicle clutter detracts from cottage charm.
External lighting fixtures, house numbers, and door furniture deserve attention. Polish brass or chrome fixtures. Ensure house numbers are clearly visible and attractive. Replace damaged or weathered house number plates if necessary. Clean all external windows and doors 24 hours before the photoshoot checklist final review.
Final Walkthrough Checklist
The final preparation walkthrough should happen the evening before your property photography session, allowing time for any discovered issues. Work systematically through the property room by room rather than addressing random items as noticed.
Start by checking every surface at camera height, approximately 100-150 centimeters from the floor. This reveals dust, marks, and clutter that won’t be visible from standing height but will appear clearly in photographs. Wipe down all horizontal surfaces including windowsills, door frames, and furniture tops.
Light bulbs need functional checking. Turn on every light in photographed rooms to identify any blown bulbs or flickering fixtures. Check that all lampshades sit level and that no visible cords cross camera sightlines. Adjust or replace as needed.
According to research from vacation rental platforms, properties with professional photography receive 40% more booking inquiries than those with amateur images, and preparation quality directly influences final image effectiveness.
Bathroom preparation requires particular attention to detail. Clean all mirrors and chrome fixtures to eliminate water spots and soap residue. Ensure shower curtains or screens are spotless and positioned fully open or neatly to one side. Replace any discolored grout or damaged caulking if possible. Stage fresh towels in neutral colors, rolled or folded identically.
Final touches include adjusting room temperature for comfort during shooting, turning off all visible electronics and device screens, and removing any items with visible branding unless intentionally showcasing premium appliances or furnishings. Walk through the property as if seeing it for the first time, noting anything that draws attention away from the architecture and space itself.
Weather-Dependent Adjustments
Weather conditions on shoot day may require last-minute adaptations. If rain arrives unexpectedly, prioritise interior shooting and prepare outdoor spaces for quick sessions during breaks in rainfall. Wet paving stones and garden furniture need drying immediately before exterior photography to avoid distracting water spots.
Overcast conditions actually benefit cottage photography preparation by providing even, diffused light. Don’t cancel or reschedule for cloud cover alone. Heavy rain, strong winds that disturb staging, or unusual weather events justify rescheduling. Discuss weather contingencies with your photographer when booking to establish clear decision criteria.
Frequently Asked Questions
How far in advance should I start preparing my cottage for property photography?
Start major preparation tasks like decluttering and purchasing replacement items two weeks before the scheduled shoot. Intensive cleaning and staging should happen in the 48 hours before photography, with final touches completed the evening before. This timeline prevents preparation fatigue while ensuring everything remains fresh and clean for shooting day. Properties requiring significant repairs or redecorating need 4-6 weeks lead time.
Should I be present during the photography session?
Being present for the first 15-20 minutes helps answer questions about property features and access, but remaining throughout the entire session often creates unnecessary delays. Professional photographers work more efficiently without owners hovering or suggesting shots. Make yourself available by phone, provide clear instructions about any restricted areas, and trust the photographer’s experience with cottage photography composition and lighting decisions.
Do I need to remove all personal items or can some stay?
Remove all family photographs, personal collections, and owner-specific memorabilia completely. Generic decorative items like artwork, books, and tasteful ornaments can remain if they enhance rather than dominate the space. The test is simple: if the item tells a story about you rather than about the property itself, remove it. Holiday rental guests want to imagine themselves in the space, which requires removing evidence of the owner’s personal life.
What should I do with pets on the day of the photoshoot?
Remove pets from the property entirely during professional property photography sessions. Even well-behaved animals create unpredictable delays, add fur and dander that shows in images, and leave odors that require extra ventilation time. If your cottage markets as pet-friendly, discuss staged pet-related styling elements with your photographer rather than including actual animals. A clean dog bed or water bowl can signal pet accommodation without the complications of live animals.
How should I prepare fireplaces for cottage photography?
Clean fireplaces completely, removing all ash, soot, and debris from the hearth and surround. For working fireplaces, decide whether to stage them empty and clean or with prepared logs. Empty fireplaces photograph well in warm weather or modern properties. Staged logs work for traditional cottages and autumn shoots, but logs must look intentional and tidy, not like forgotten remnants. Never light fires on shoot day as smoke residue and smell affect multiple rooms.
Should I open or close bedroom wardrobes and cupboards?
Keep all wardrobes and cupboards closed unless they contain features worth showcasing, such as custom organization systems or luxury finishes. Open cupboard doors create visual clutter and often reveal disorganized interiors that detract from the overall impression. If you want to demonstrate storage capacity, ensure interiors are completely empty, clean, and well-lit before opening them for specific shots. Most cottage photography benefits from closed storage keeping attention on living spaces.
What happens if I discover a maintenance issue right before the scheduled shoot?
Contact your photographer immediately to discuss whether the issue affects photographable areas. Minor problems like a dripping tap or loose door handle can often be worked around or quickly repaired. Significant issues like water damage, broken windows, or failed appliances in key rooms justify rescheduling. Professional photographers would rather reschedule than deliver images that require extensive editing or that showcase property problems. Most maintenance issues that seem critical to owners don’t actually appear in standard cottage photography compositions.
What specific property photography preparation challenges have you faced with your Peak District cottage, and what unexpected details made the biggest difference to your final images?
References
- BBC research on UK holiday rental booking patterns and visual content impact
- VisitBritain tourism industry standards for destination photography
- HomeAway vacation rental platform photography guidelines
- Which? consumer research on holiday accommodation selection criteria
- Photgraphs from Airbnb property photography session